1、准备好需要用到的图标。


2、新建html文档。

3、书写hmtl代码。
<div class="blocks">
<div class="block">
<div class="overlay"> <img src="img/con.png" /> <良巨/div>
<img src="img/overs.jpg" alt="Image" /> </div>
<div class="block">
<div class="overlay"> <img src="img/con.png" /> </div>
<img src="img/st.jpg" alt="Image" /> </div>
<div class="毙互block">
<div class="overlay"> <img src="img/on.png" /> </div>
冲况艳 <img src="img/rter.jpg" alt="Image" /> </div>
<div class="block">
<div class="overlay"> <img src="img/con.png" /> </div>
<img src="img/work.jpg" alt="Image" /> </div>
</div>

4、书写css代码。
html { height: 100%; width: 100%; }
body { background: #eee linear-gradient(135deg, #2980b9, #9b59b6); display: -ms-flexbox; display: flex; -ms-flex-align: center; align-items: center; -ms-flex-pack: center; justify-content: center; height: 100%; width: 100; }
body .blocks { position: relative; display: -box; display: -ms-flexbox; display: flex; -ms-flex-align: center; align-items: center; -ms-flex-pack: center; justify-content: center; }
body .blocks .block { position: relative; display: block; width: 200px; height: 200px; margin: 20px; transform: perspective(600px) rotateY(-30deg); transition: transform .3s; transition: transform .3s, -transform .3s; }
body .blocks .block img { width: auto; max-width: 100%; }
body .blocks .block .overlay { position: fixed; display: -ms-flexbox; display: flex; -box-align: center; -ms-flex-align: center; align-items: center; -box-pack: center; -ms-flex-pack: center; justify-content: center; top: 0; right: 0; bottom: 0; left: 0; z-index: 2; background-color: rgba(0, 0, 0, 0.5); opacity: 0; -transition: opacity .3s ease; transition: opacity .3s ease; }
body .blocks .block .overlay img { width: auto; max-width: 50%; }
body .blocks .block.hover, body .blocks .block:hover { -transform: rotateY(0); transform: rotateY(0); cursor: pointer; }
body .blocks .block.hover .overlay, body .blocks .block:hover .overlay { opacity: 1; }

5、书写并添加js代码。
<script src="js/jquery-1.11.0.min.js"></script>
<script>
$(document).ready(function() {
var count = 0;
var blocks = $(".block");
var testEffect = setInterval(function() {
$(blocks[count - 1]).removeClass("hover");
$(blocks[count]).addClass("hover");
count++;
if (count > 4) clearInterval(testEffect);
}, 800);
});
</script>

6、代码整体结构。

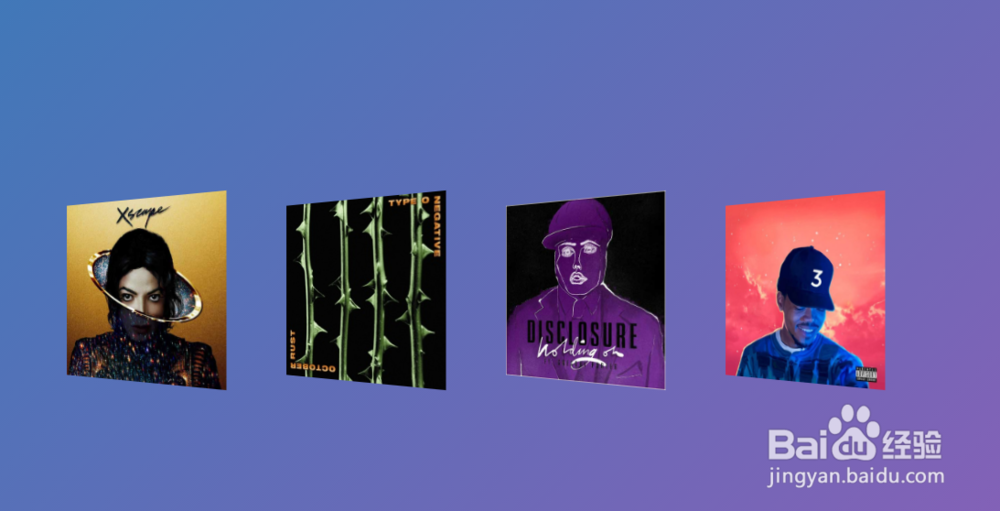
7、查看效果。